FireGlass , fire glass, fire glass, fireplace, fire pit, modern fireplaces fire pits, https://www.moderustic.com
Moderustic Aquatic Glassel Fireplace Glass Rocks Propane FireplacesModerustic Aquatic Glassel Fireplace Glass Rocks Propane Fireplaces

Ed@Moderustic.com 909 989 6129

PAGE 2 OF STARFIRE

janis 1
 
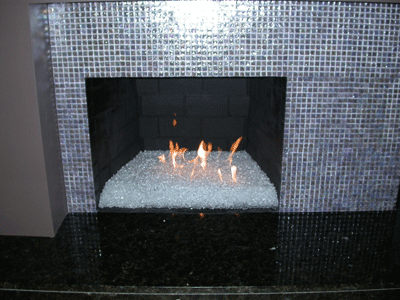
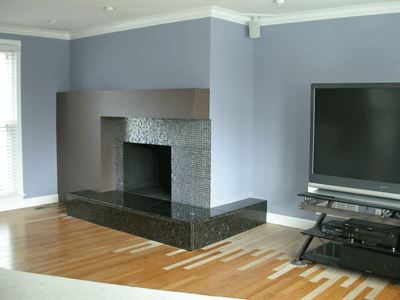
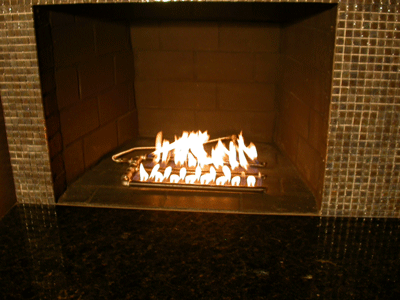
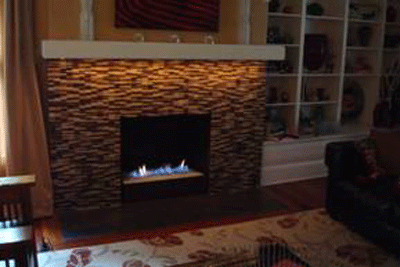
The fireplace below was installed by George Foote who also built his own pan, great job! We supplied the burners and glass and George supplied the talent and labor. Great job George! The colors used were:
and our Ice Ice Ice Topper and you be the judge!
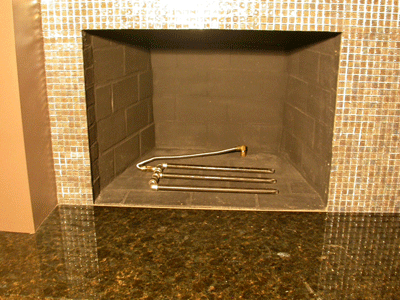
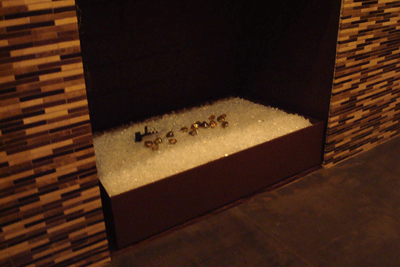
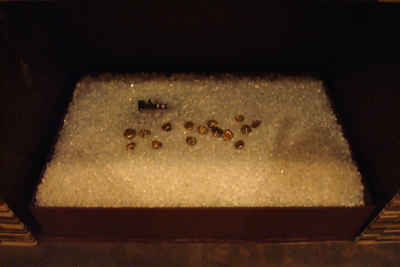
Before the pan and glass.
george 1
Here is the stainless steel pan that George built.
george 2
george 3
george 4
george 5
and the rest of the colors for one nice design from George!
george 6
george 7
george 8
george 9
george 10


________________________________________________________________________

To see how this fireplace was transformed CLICK HERE or on the pictures below!

Mike and Megan Boling Fireplace

TO

Mike and Megan Boling Fireplace

Creativity and IMAGINATION is how.

Mike and Megan Boling Fireplace

________________________________________________________________________

______________________________________________________________________

Click HERE or on the picture to see how it was transformed to this!

Steve Clendenen

From THIS! (BELOW) again YUK!

Steve Clendenen

______________________________________________________________________

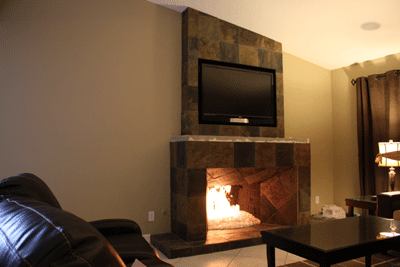
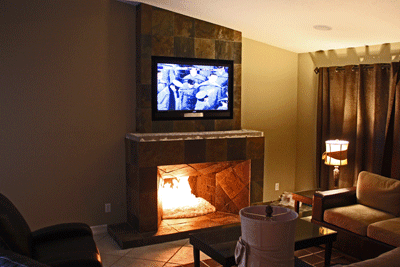
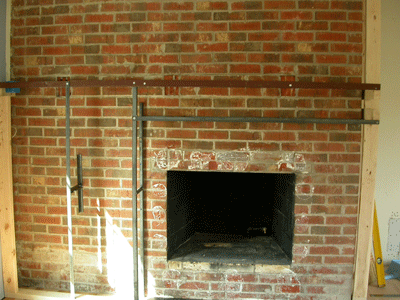
The Fireplace below belongs to Candice, Jonathan and Rocky (a cute little Yorkie). We converted a plain fireplace to a much more usable and modern fireplace TV entertainment area. Watch the transformation from beginning to end. We topped it with Starfire Base Glass to finish it off.

 candice 1

Below is Rocky, just supervising

candice 2

We started the metal framing in 16 Gauge steel studs. No wood was used and you should never use wood near a fire.

candice 3

candice 4

candice 5

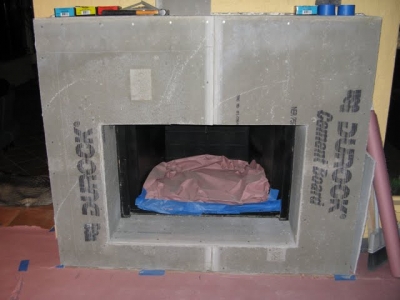
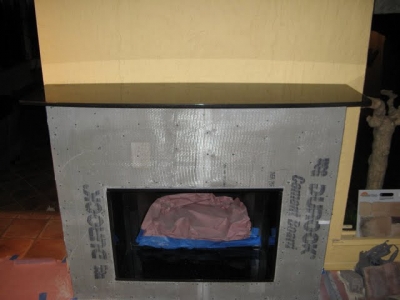
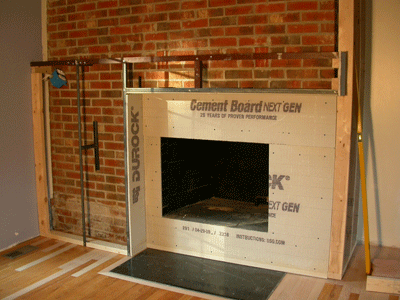
Below we wrapped the opening with durock, concrete board.

candice 6

Add a bit of drywall.

candice 7

This was wired for a surround sound and electrical in the left cabinets.

candice 8

candice 9

candice 10

The TV that was used was a DLP (16" deep) and this is how you install a TV that is not a flat screen above your fireplace. In the left cabinets the components were installed and concealed by black glass doors.  On the top we installed a set of 6" lights on dimmers to give additional room/ mood lighting.

candice 11


The fireplace below was installed with a dual battery operated 100,000 BTU propane electronic ignition system. Each capable of 100,000 BTU's of fire. The first pictures show what we had to work with and how it progressed.
The glass that was used was Starfire Base Glass, Gold Base Glass and  Ice Ice Ice Topper.
ted 3
If this was in your house you would say NASTY!
ted 4
ted 5
Burning wood and logs is just nasty and dirty! True story!
ted 6
ted 7
Above you can see the soot that come out of the fireplace and and leaves your house smelling so carbon monoxide fresh! YUCK!
ted 8
Add a bit of lime stone.
ted 9
A few pieces of copper.
ted 10
Below you can see the sand bed and the ignition box we built.
ted 11
Below are the two vent we installed for the air mixers inside of the ignition systems.
ted 12
ted 13
ted 14
ted 1
and here we are finished. Now isn't that much better little feller?
Modern times call for modern measures! I guess that's why we are Moderustic!
ted 2


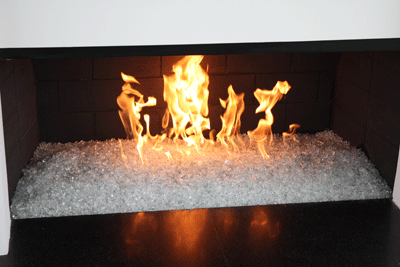
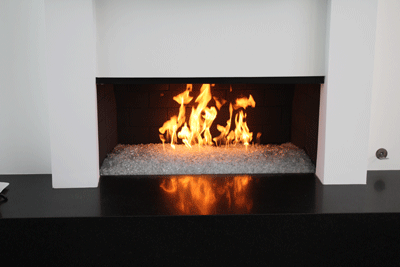
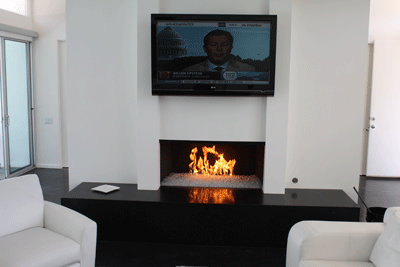
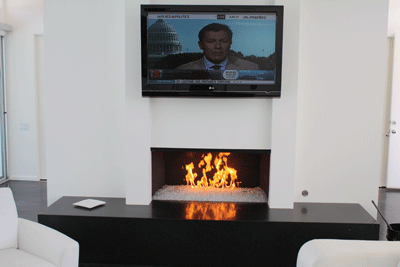
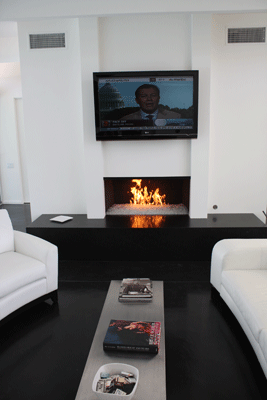
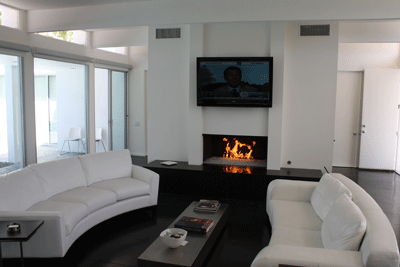
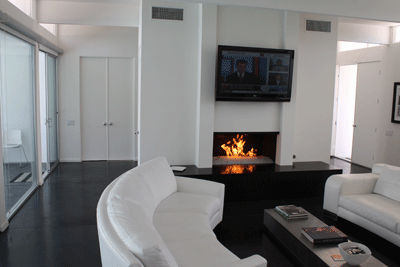
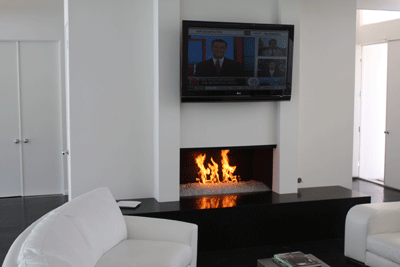
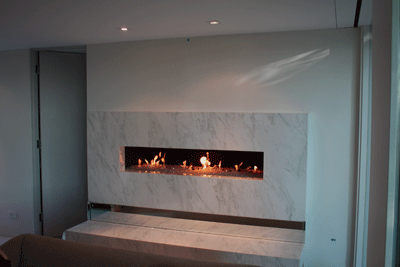
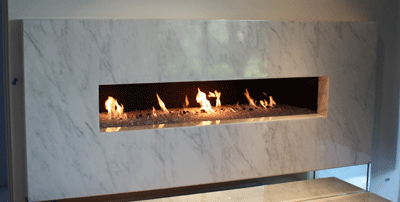
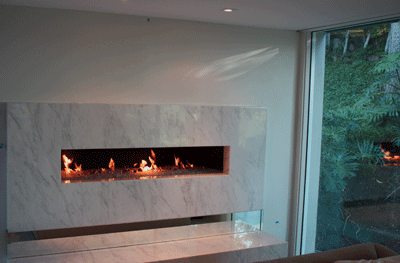
The fireplace below is in Santa Monica California. The fireplace is a Malm Fireplace which can be found at:
Malm Fireplaces Ask for Keith

 
We used an 18" double stainless steel burner and a bed of Starfire Base Glass topped with a few pounds of our Ice Ice Ice Topper.
This is a very simple self installation as you will see.
1
2
3
4
5
6
7


The fireplace below is in Laguna Beach California. The glass that was use was Starfire Base Glass. Topped with Clear Diamonds and Ice Ice Ice Topper.

laguna 1


The fireplace below was assembled by Nadine in Dallas Texas (Elegant Reflections USA) Great job on the skull! The base glass is Starfire Base Glass and Black Base Glass makes up the skull. She also used Clear Diamonds and Clear Crystals from our Toppers.
skull 3
skull 2
You can see the Diamonds and Crystals around the outer edge for accents.
skull 1


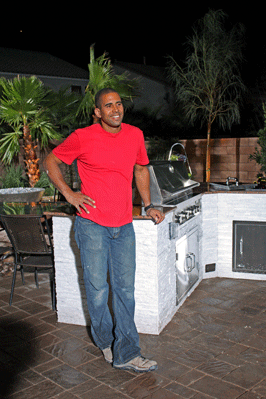
Las Vegas Yard Crashers!

This will air in April of 2010!

Here is a preview

Ahned Hassan

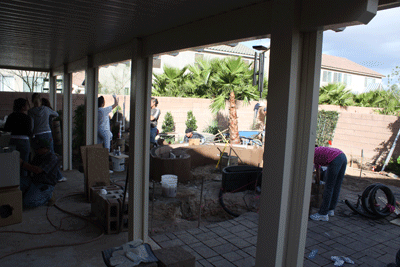
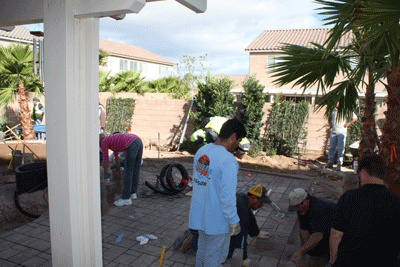
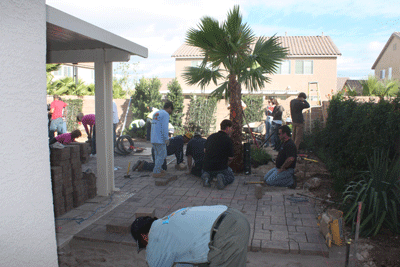
This is what was done on the first day. I showed up on the beginning of the second and the final day. It's amazing what can take place in just 12 hours!
Las Vegas Yard Crashers 1

Above the pavers were installed the day before.

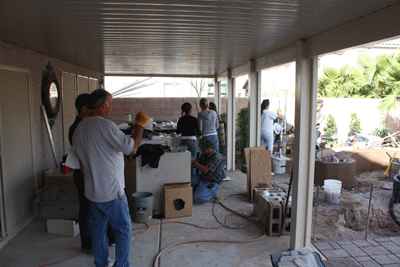
Below is the patio with the outdoor kitchen set aside for now.
Las Vegas Yard Crashers 2

Las Vegas Yard Crashers 3

Las Vegas Yard Crashers 4

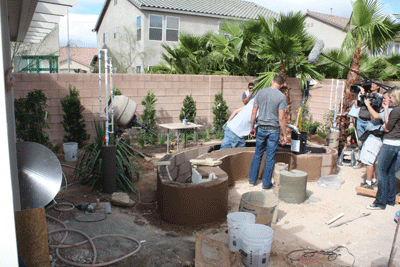
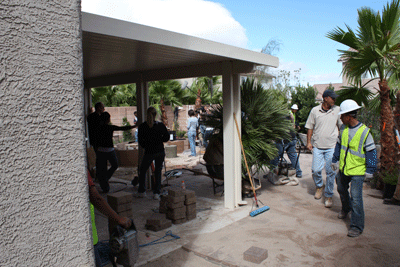
Above is where the outdoor kitchen will reside later.

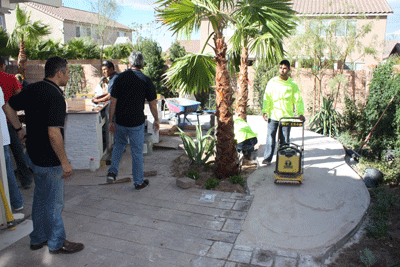
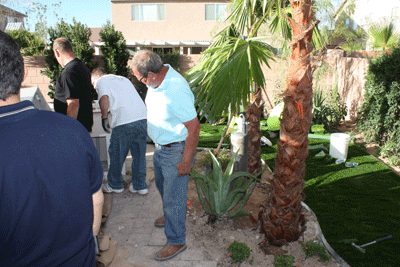
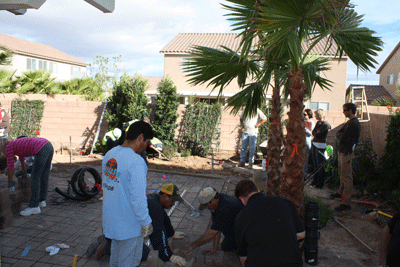
Even the palm trees were brought in! There was nothing on the site when it started the day before.
Las Vegas Yard Crashers 5

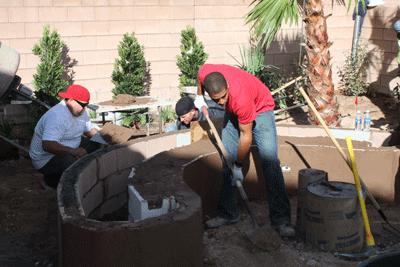
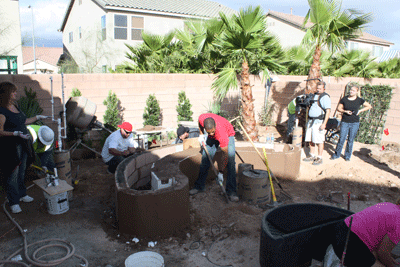
Below Ahmed was leveling the ground around the fire pit area. Ahmed worked all day, much harder than anyone else! I was very impressed how hard he actually works to get the show done.
Las Vegas Yard Crashers 6

Las Vegas Yard Crashers 7

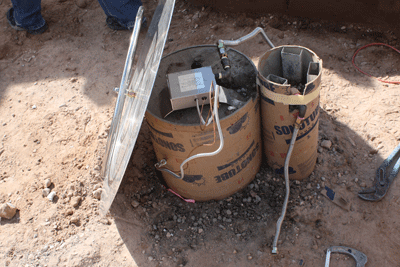
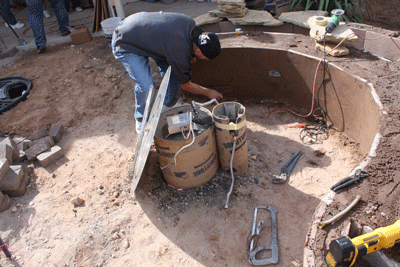
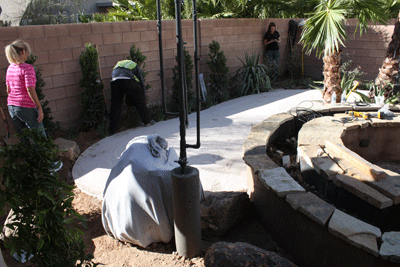
Below is where the propane fire pit will sit. The controller will be mounted to the side of the concrete base after the paper tubes are cut away.
Las Vegas Yard Crashers 8

Las Vegas Yard Crashers 9

Las Vegas Yard Crashers 10

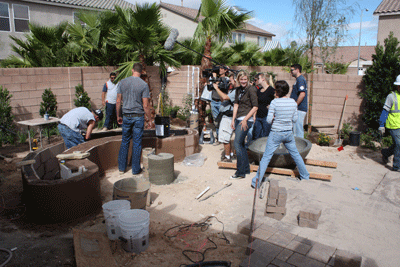
Above and below you can see the inside of the planter is coated to prevent water from leaching out.
Las Vegas Yard Crashers 11

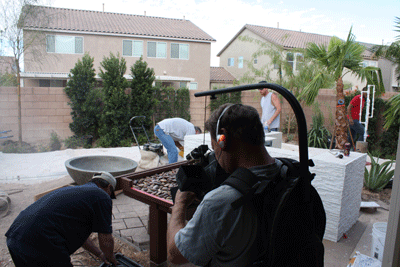
Above you can see on the ground that we brought the fire bowl in. Just so you know it was about 300 lbs!
Las Vegas Yard Crashers 12

Las Vegas Yard Crashers 13

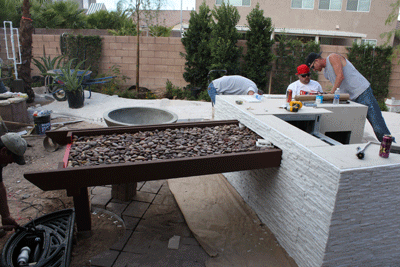
Above and below you can see outdoor kitchen. The trough coming out is actually water fall spilling into a dry creek bed below. The water feature was covered with a glass top making it a dining area as well. On the inner wedges they wrapped rope lights to accent the water and rocks under the glass top.
Las Vegas Yard Crashers 14

Las Vegas Yard Crashers 15

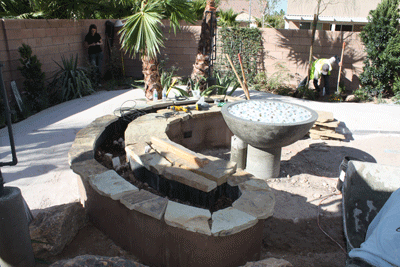
Above and below you can see the sand was installed as a base for the artificial grass to come.
Las Vegas Yard Crashers 16

Las Vegas Yard Crashers 17

Above they are compacting the sand for the grass to be installed.

Below Ahmed is finishing the dry creek bed.
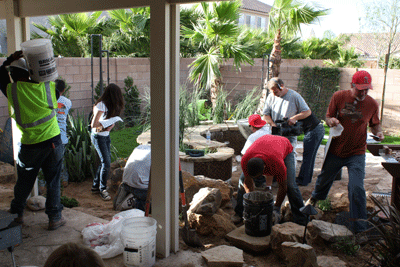
Las Vegas Yard Crashers 18

Below the grass is installed.

Las Vegas Yard Crashers 19

Below the dry creek bed is finished and the grass is now installed in the back are as well.
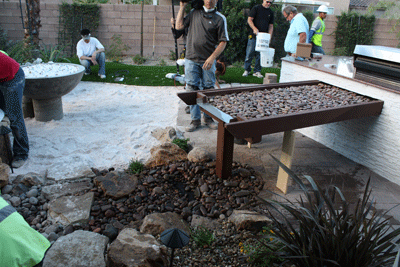
Las Vegas Yard Crashers 20

Las Vegas Yard Crashers 21

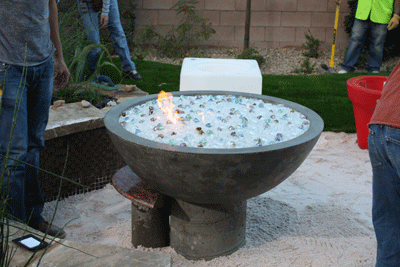
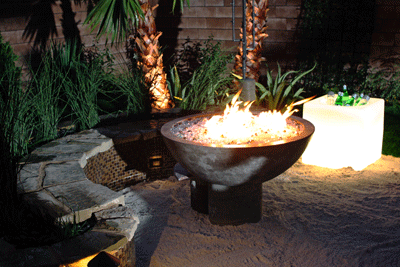
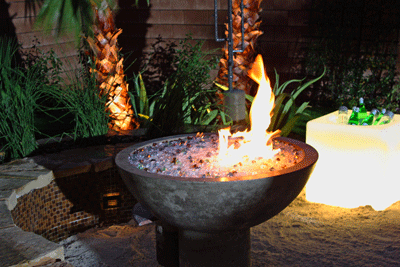
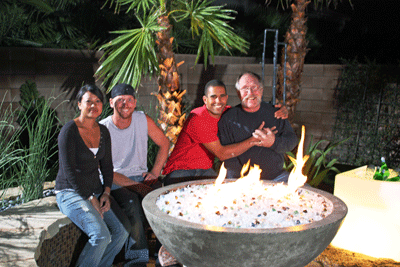
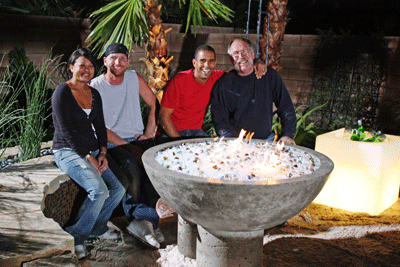
Above is our fire bowl on propane. We used Starfire Base Glass with Ice Ice Ice Topper and Diamonds on top. We brought out several colors of diamonds for the customer to pick and choose but she liked them all so much, she installed every last one!
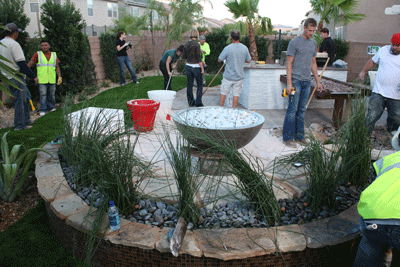
Las Vegas Yard Crashers 22

Below you can see after everything was cleaned up how spectacular it turned out!
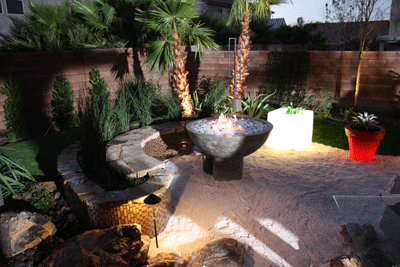
Las Vegas Yard Crashers 23

Las Vegas Yard Crashers 24

Las Vegas Yard Crashers 25

Las Vegas Yard Crashers 26a

Las Vegas Yard Crashers 27

Las Vegas Yard Crashers 28

We are to feature several more episodes with Yard Crashers and we will be showing several more of our new product lines on their shows.  We still have several shows we need to post pictures of what we did. Please come back from time to time to see our latest updates.

I thank Ahmed and the producers of the Yard Crashers for giving us the opportunity to work with them.

Thanks to Tiffany, Krystal and Holly at the Idea Factory!

Idea Factory produces Yard Crashers for the DIY Network

"Click HERE for the DIY Network/ Yard Crashers Site!"


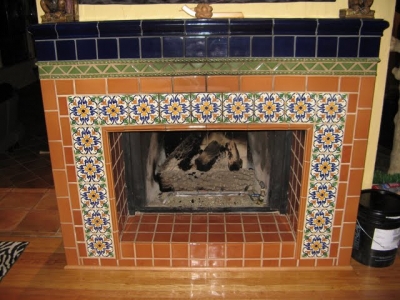
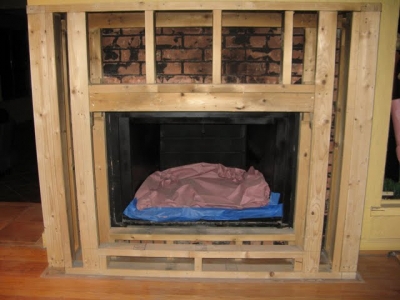
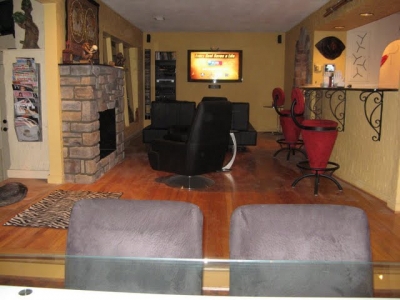
The fireplace below belongs to Todd. As you are going to see one great before and after transformation.

He used an 1/8" Clear Base Glass with Starfire Base Glass on top. Then he added Red R Topper, Black Luster Topper and a few Clear Diamonds.
TODD SURLOFF 1

TODD SURLOFF 1

TODD SURLOFF 2

Out with the old and in with the new!
TODD SURLOFF 3

TODD SURLOFF 4

TODD SURLOFF 5

TODD SURLOFF 6

TODD SURLOFF 7

We would of liked more pictures of it burning but Oh Well!
TODD SURLOFF 8


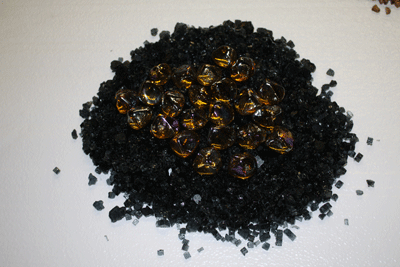
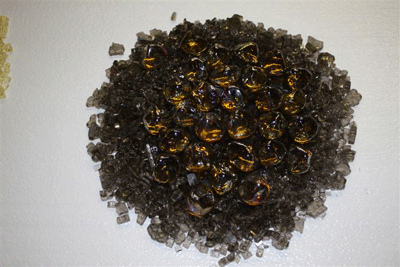
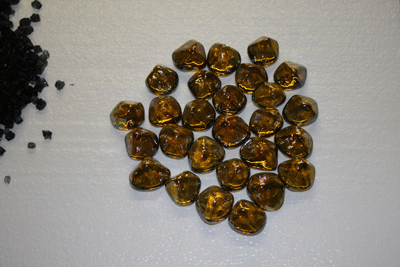
Below is a collection we took pictures for our customer to decide on which base to use under the Amber Diamonds.

Amber Diamonds alone
AMBER DIAMONDS ALONE

Amber Diamonds on Black Base Glass

AMBER DIAMONDS ON BLACK

Amber Diamonds on Starfire Base Glass
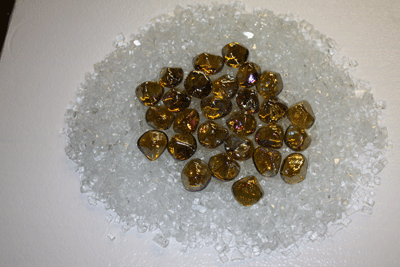
AMBER DIAMONDS ON STARFIRE

Amber Diamonds on New Yellow Base Glass
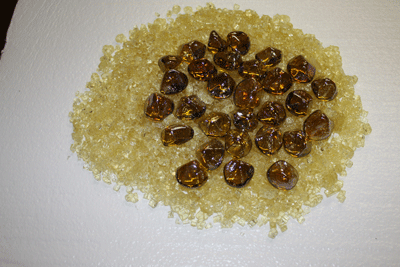
AMBER DIAMONDS ON NEW YELLOW

Amber Diamonds on Bronze Base Glass

AMBER DIAMONDS ON BRONZE

The same product can be displayed thousands of ways. What do you want to see? Our diamonds are made with a convex base so when you look at the Diamonds in the fire they seem to be melting on the inside, like looking into a spoon. We cause it to reflect backwards. Visit out "Diamonds Page" to see many more colors!


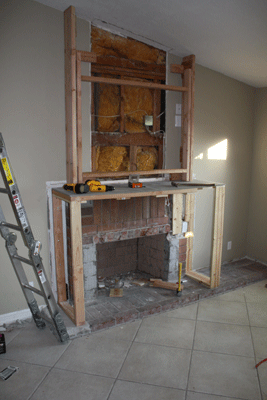
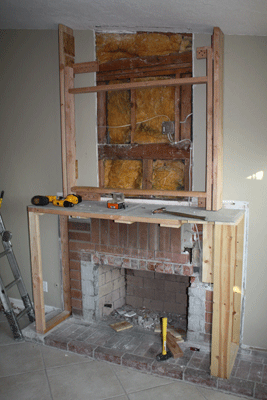
Do it yourself fireplace remodel made easy, or at least it seems that way.

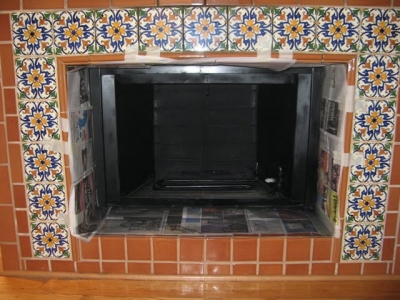
First, the tile that was installed is not rated for fire. This tile would of popped off as soon as the fire was turned on. So do a little research before you begin. We can help in many ways, just call and ask.
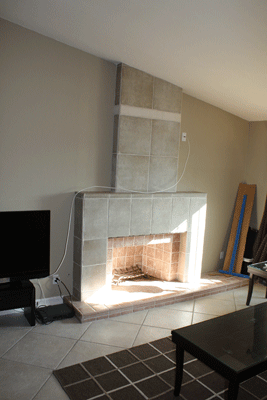
Christy's Fireplace 1

It may have of seemed to be a good idea at the time, but it wasn't!
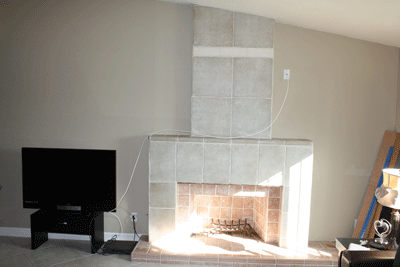
Christy's Fireplace 2

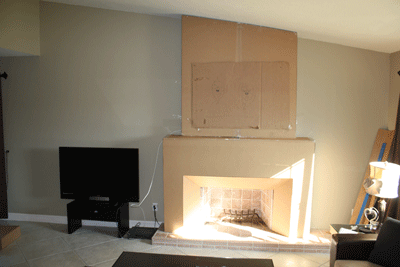
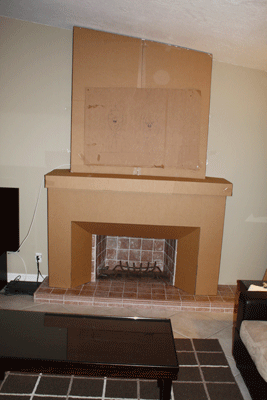
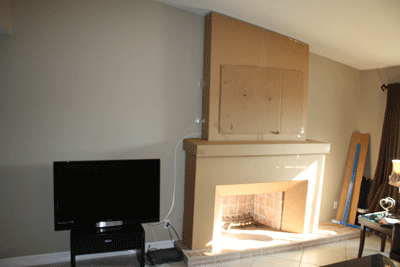
When redesigning a fireplace we suggest card board mache'. A card board  mock up so you can see a basic preview of your project.
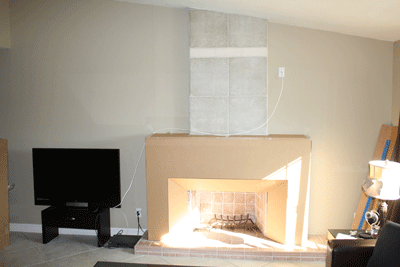
Christy's Fireplace 3

Christy's Fireplace 4

Below you can see the bottom, top and mantle in card board.
Christy's Fireplace 5

Christy's Fireplace 6

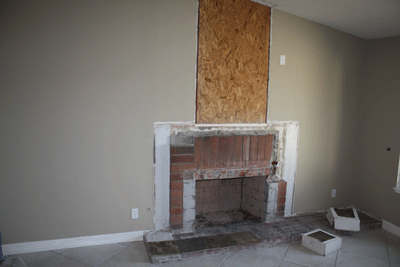
Now the rip and tear process begins!
Christy's Fireplace 7

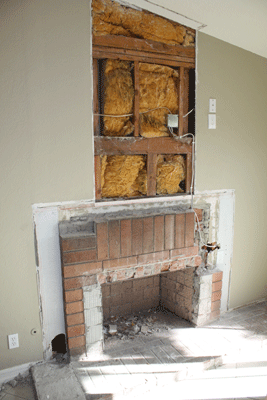
Below we installed the extra electrical for the components and the TV. The components will be installed on the right side out of view with a black glass door. This will be installed later.
Christy's Fireplace 8

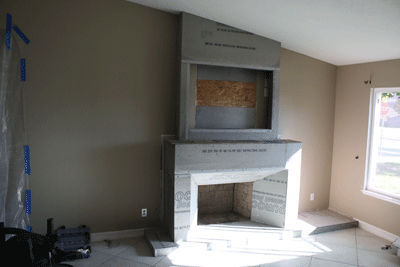
Below the framing begins.

Christy's Fireplace 9

Christy's Fireplace 10

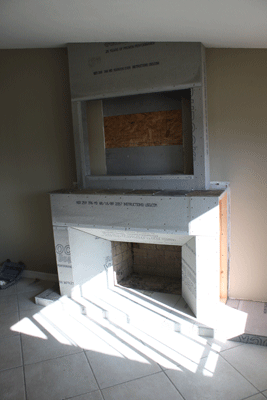
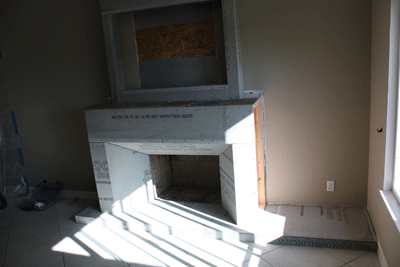
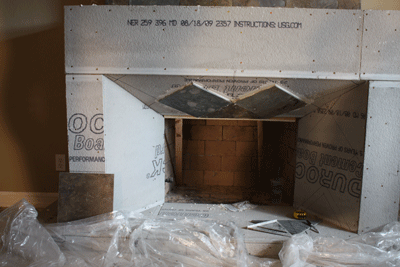
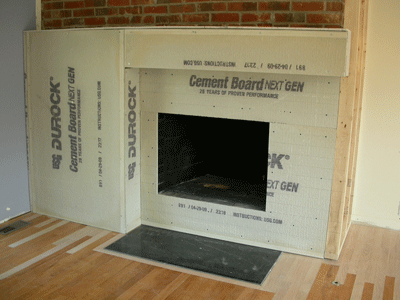
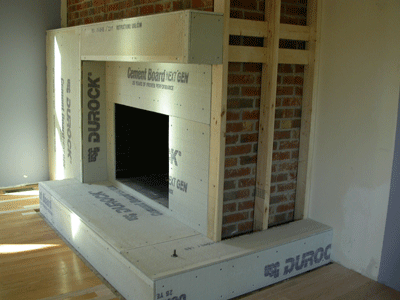
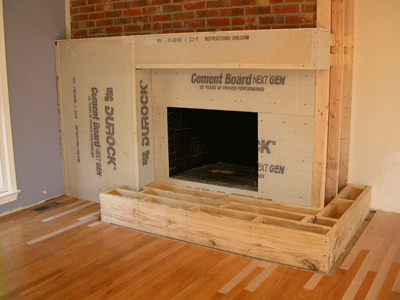
Below we now added the Durock at the fireplace opening. This is key to the whole project. Math is very important when doing these layouts!
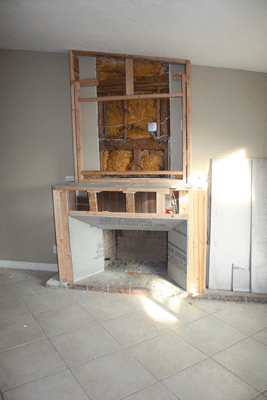
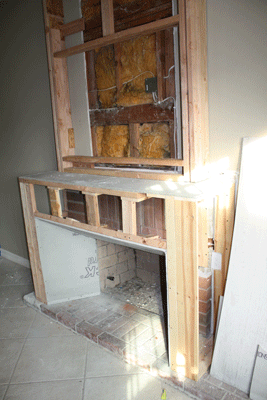
Christy's Fireplace 11

Christy's Fireplace 12

Christy's Fireplace 13

Christy's Fireplace 14

Christy's Fireplace 15

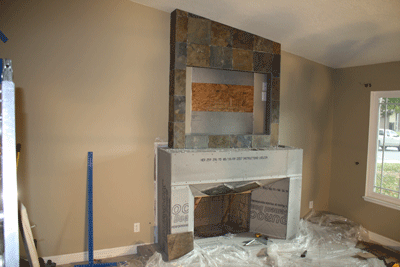
Below you can see the slate is being added.
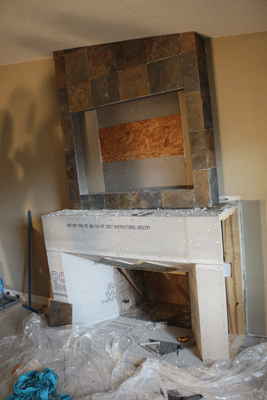
Christy's Fireplace 16

Christy's Fireplace 17

Christy's Fireplace 18

Christy's Fireplace 19

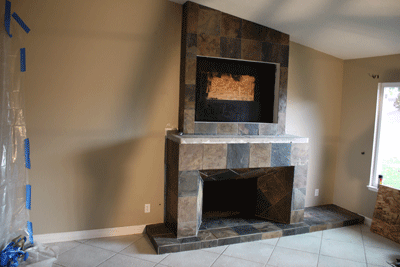
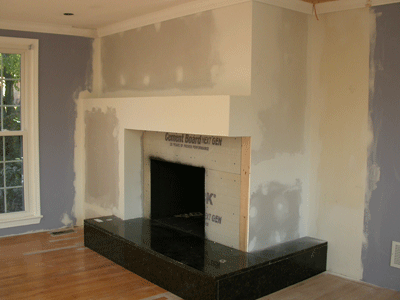
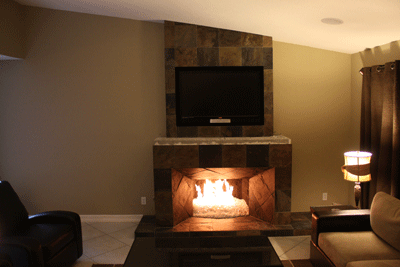
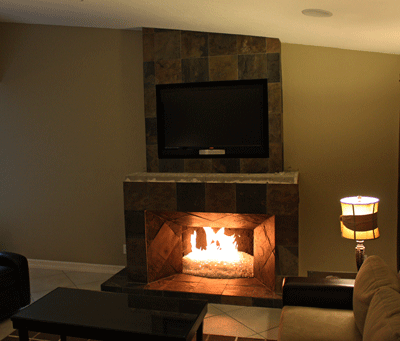
Above and below the fireplace is 90% finished. The mantle needs to be installed and the door on the right to conceal the components needs to be installed as well. The inside of the fireplace will have 3 pieces of black galaxy granite installed. We will post these pictures of the fireplace when it is completely finished as well.
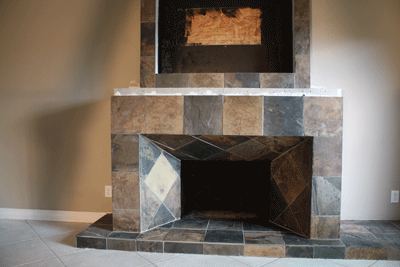
Christy's Fireplace 20

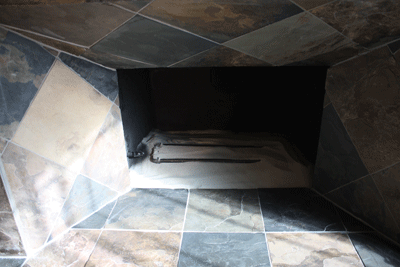
Now for the glass installation. We started with a satin black paint on the back walls, until we install the granite.  Then we bulked up the base with 2" of white sand as this will save you a bunch of money! We used sand because we were pouring Starfire Base Glass in the fireplace. If we were to use a darker color of glass we would of used our crushed lava rock as a filler. When using sand, always make sure the burner is on top of the sand.
Christy's Fireplace 21

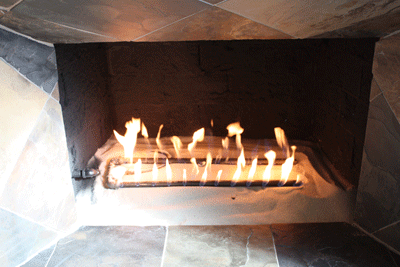
Test the burner/ location making sure the flames don't hit the walls.
Christy's Fireplace 22

Christy's Fireplace 23

Then pour the glass!

Christy's Fireplace 24

Christy's Fireplace 25

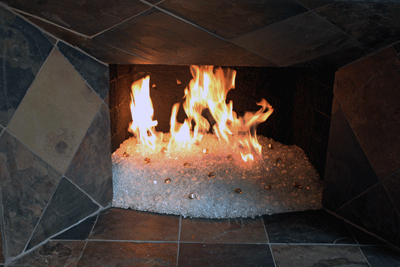
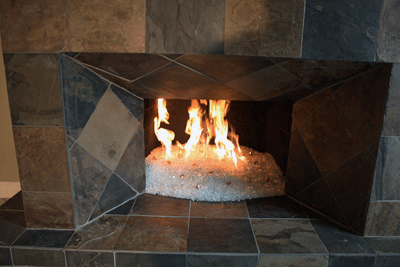
We added a few pink diamonds and then later added Ice Ice Ice Topper and Clear Diamonds. These products because of the way they are made appear to be melting on the inside.
Christy's Fireplace 26

Christy's Fireplace 27

Christy's Fireplace 28

Christy's Fireplace 29

The sealer that was used was a stone enhancer, not just a regular cheap sealer. When using rock you always want to see the beauty of the stone you are using.
Christy's Fireplace 30

Christy's Fireplace 31

Christy's Fireplace 32

As you can see the mantle is still missing. We have a few more details to still do and as soon as we have time to post the pictures, they will be here.

We encourage imagination to all of our customers and we support you and your projects. Regardless how simple or how creative. This is one of the elements that spawned our success and continues to do so.


Kentucky Fireplace Remodel

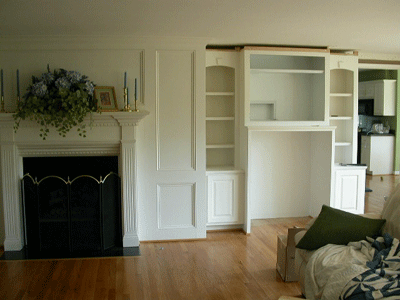
The next fireplace was built by Dave Luerman in Kentucky and you will now see his before and after also using a base of Starfire Base Glass.

Below you can see where it all began. Dave is one very creative customer.
Luerman 1

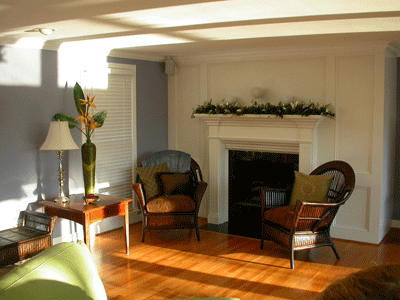
The fireplace that was replaced was very nice but just met the needs of Dave.
Luerman 2

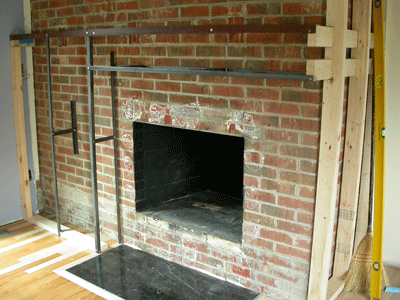
Out with the old and lets frame up the new.
Luerman 3

Luerman 4

Luerman 5

Add the durock panels.

Luerman 6

Luerman 7

Luerman 8

Frame the Hearth

Luerman 11

Luerman 10

Luerman 12

Install a triple 24" burner.

Luerman 13

Luerman 14

Luerman 15

Luerman 16

Luerman 17

Luerman 18

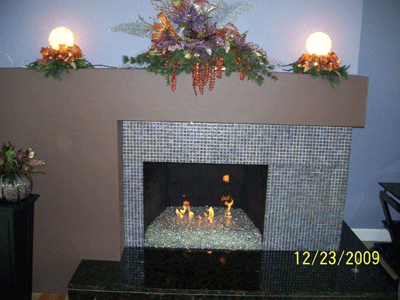
Add Starfire Base Glass and you are done.
Luerman 19
 

The fireplace below is from Steve Calderon and he used a Starfire Base Glass with Gold Base Glass and Bronze Rust Copper Base Glass on top.

This is from beginning to end.

Calderon 1

Above is the before believe it or not. As you can see Steve did a terrific job. This was a wood burning fireplace before. he installed a gas line and control valve on the right side.

Calderon 2

Calderon 3

Below you can see the old burner which we replaced with the new double 18" burner.

Calderon 4

Calderon 5

Calderon 6

Calderon 7

Mask it, vacuum it after wire brushing the walls clean.

Calderon 8

Calderon 9

A bit of Thermolux 1200 degree high heat paint.

Calderon 10

Fireplace Glass used:

Pour in a Starfire Base Glass with a splash of Gold Base Glass and Bronze Rust Copper Base Glass on top.

Calderon 11

Calderon 12

.Calderon 13

Calderon 14

Then you have one nice fireplace, great job!

Calderon 15


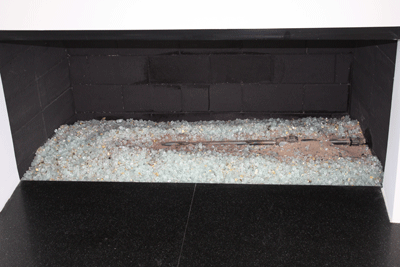
The fireplace below had a few issues, but easily repaired. Be sure to not let this happen to you! If anyone tries this type of installation, stop them and throw them out!  This fireplace installation was in Palm Springs California. It was done with the 2" method which is fine except for the burner the fireplace shop installed. We will explain as we move forward and show you the finished fireplace.

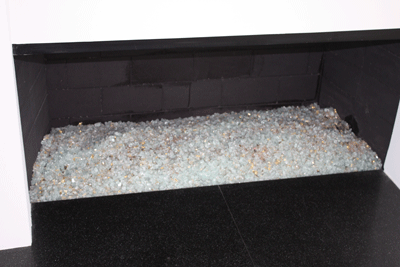
Below is what we saw when we arrived.
Palm Springs 4

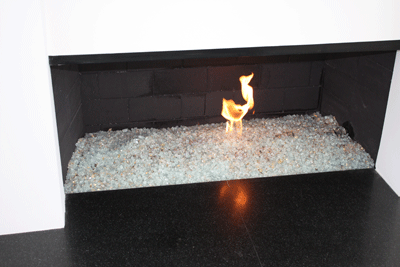
Then we tested the burner we were to replace, oh my!
Palm Springs 5

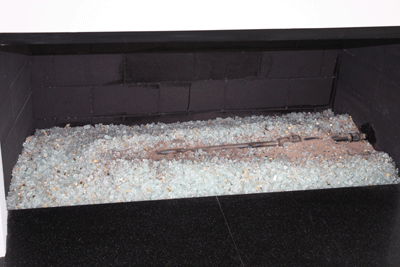
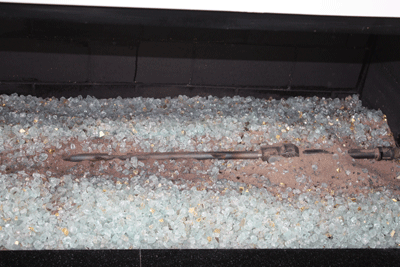
We uncovered to see what was installed and found a single pipe burner. Great Flame! Another issue was the paint job was hideous which was later repainted. Don't let these ignorant installer tell you their stories. They told the customer the paint would dry to match.
Palm Springs 1

We do approve of a sand filler indoors under lighter colored glass, but the burner must be on top!
Palm Springs 2

Palm Springs 3

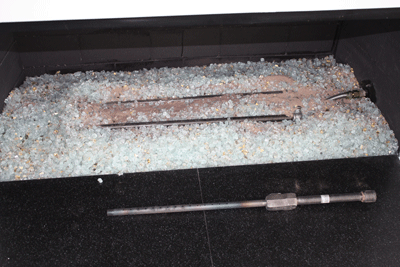
Now we installed a double burner and just watch!
Palm Springs 6

Below is what they pawned off on the customer, DON'T LET THIS HAPPEN TO YOU!

Palm Springs 7

Palm Springs 8

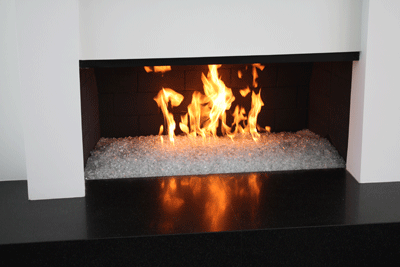
Much better. Then we took several pictures of the fireplace just because! We did top it off with about 15 lbs of Starfire Base Glass to help hide the sand that was exposed and it worked out just fine.
Palm Springs 9

Palm Springs 10

Palm Springs 11

Palm Springs 12

Palm Springs 13

Palm Springs 15

Palm Springs 16

Palm Springs 17


The fireplace below has a steel pan underneath to conceal the 12 volt remote control. We used a Clear Base Glass and topped it with a Starfire Base Glass and then added Amber Diamonds on the surface.

Jim Malless 1

Jim Malless 2

Jim Malless 3

You can see the front plate that was painted to match which is removable if and when necessary to change the batteries. The legs were 4 1/2" and the pan was 2" tall. The removable front metal curtain was 6 1/2" tall.

Jim Malless 4

Jim Malless 5


The fireplace below is in Beverly Hills California. We used a Starfire Base Glass with Clear Diamonds and Black Luster Topper.

Rosen 7

Rosen 8

Rosen 9

Rosen 10


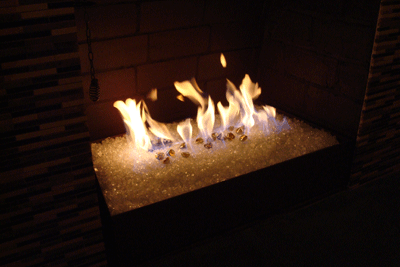
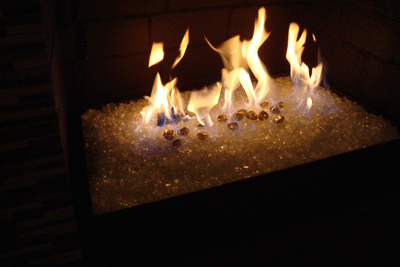
                                           The fireplace below has a steel pan underneath to conceal the 12 volt remote control. We used a Clear Base Glass and topped it with a Starfire Base Glass and then added Amber Diamonds on the surface.
Jim Malless 1
Jim Malless 2
Jim Malless 3
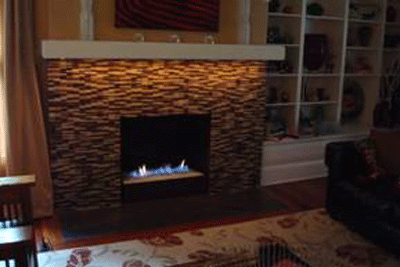
Above and below you can see the solid cover as it hangs over the face to conceal the remote control ignition.
Jim Malless 4
Jim Malless 5


_____________________________________________________________________

CLICK HERE or on the PICTURES below to see how this became what it is today!
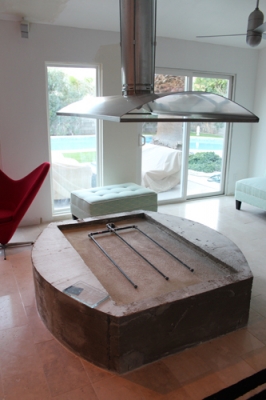
Palm Springs Indoor Fire Pit

Palm Springs Indoor Fire Pit
_____________________________________________________________________

_______________________________________________________________________________
This Surround was a challenge, as the top and bottom were not square, the top center was 2 1/2" and the bottom was 2". Anyway, after it was installed, it looked awesome!

(Click on the PICTURE)

Barry DeBreau Corner Surround

We built a custom size steel pan to go into the fireplace with Starfire Base Glass installed

There is 4" of Black frame all around, 4" of black glass on the sides and 4" of black glass on the top.

The Black Paint we used was Satin Black Silicone based fireplace paint. Do not use regular paint, no really.

Barry DeBreau Corner Surround

Click on the Pictures or HERE to see the rest of the Surround Pictures
____________________________________________________________________________________


Additional Links for Starfire.

1/4" Starfire Pictures

More 1/4" Starfire Pictures

1/2" Starfire Pictures

1/8" Starfire Pictures

More 1/8" Starfire Pictures

3/4" Starfire Pictures

1/4" Starfire Pictures

More 1/4" Starfire Pictures

Starfire Pictures

1/4” Starfire “CLICK HERE TO SEE THIS PRODUCT IN THE E STORE!”

Ed@Moderustic.com 909-989-6129

9467 9th street Unit D

Rancho Cucamongs, California 91730


Our Glass is SAFE and See Why!

Safe Glass
 We  Appreciate Your Comments & Feed Back. Please
Send Your E-mails or Click HERE to Submit a Survey!


909-989-6129  Fax: 909-944-3811 
or E-mail us at
Ed@Moderustic.com |  Jaunzemis@msn.com  

Ed@Moderustic.com 909-989-6129

9467 9th street Unit D

Rancho Cucamongs, California 91730


Moderustic Aquatic Glassel Fireplace Glass Rocks Propane Fireplaces